Thursday, 18 August 2011

At last!

 I've been meaning to do some rust dyeing for ages and just never got round to it.
Ta da! Here are the results. Not really sure if I like the results as I put it all together in a hurry. Think I should have tied or wound the cloth round the rusty piece a bit tighter. I'll know for the next time. I soaked the fabric in vinegar, wrapped it round my rusty metal then left it in a plastic bag outside for 24 hours... Maybe outside in Scotland should have been all week instead of one day!
I liked the wee flower on the broderie anglais piece, I just wish it had coloured a bit better. Not sure if I was really supposed to get these dark spots transferred or not. They were maybe bits of loose rust that I hadn't rubbed off. All together just a bit of a disaster I think. I was not impressed when I read somewhere online that you were to neutralise the rusting action and then repeat it every year! I don't mind doing it first time round but object to the follow up. It made me wonder what was the point, you wouldn't be able to use the pieces in a hanging or picture. I really don't understand it I'm sure that there a loads of people rust dyeing then using the pieces of fabric to make something. Mmm...maybe I'll just stick to Procion or Dylon in future.  

 I thought I'd take the opportunity to take a few pictures when I was in the garden. This Rowan tree over the fence is laden with berries. They say that trees with masses of berries indicate a hard winter...mmm...I wonder.
 Good old white daisies, they come up every year. must find out their real name.
This, I think is called crocosmia lucifer, don't quote me on that. I really should look things up before I start and get my facts right. Oh well...
That's all for now.
Byeeee. :o)

Saturday, 18 June 2011

Hi there! Thought that I'd share what I was doing the other day.
I was dyeing fabric and had such a good day that I thought that it was the perfect way to get this blog up and running again. I'd thought about giving all the excuses of why I'd not been posting but hey, that's history so lets just scratch the last few months and start again.
Here is my start...

The one on the left had been folded down the length and the one in the middle was folded across the middle. I hadn't realised at the time but really liked the result. Will probably try that again.
This one was at the bottom of a bundle of fabric and the dye wasn't able to penetrate down to it. When I noticed it was too late to do anything about it. I thought that it turned out pretty good but probably it'll be a complete one off as I'd probably never be able to reproduce it.
This is a piece of silk velvet that I space dyed. I just love velvet!

Well sadly that is all for now as blogger seems to be taking ages to load my photos and out of the nine that I had lined up it only loaded the three above. I'm also having a fight with the font that I want it just doesn't want to retain it between photos. There are more glitches but I'll not go on. Not exactly the start that wanted, but it's a start all the same!

Bye for now.
x

PS. Not only have I had all these problems but I went and posted this on my other blog!!!! aaaargh.... I've now taken ages to copy and upload the photos one at a time to get to this point...again!!!!!!! I'm away this time, I hope!
! :o)

Sunday, 27 February 2011

Stirling revisited!

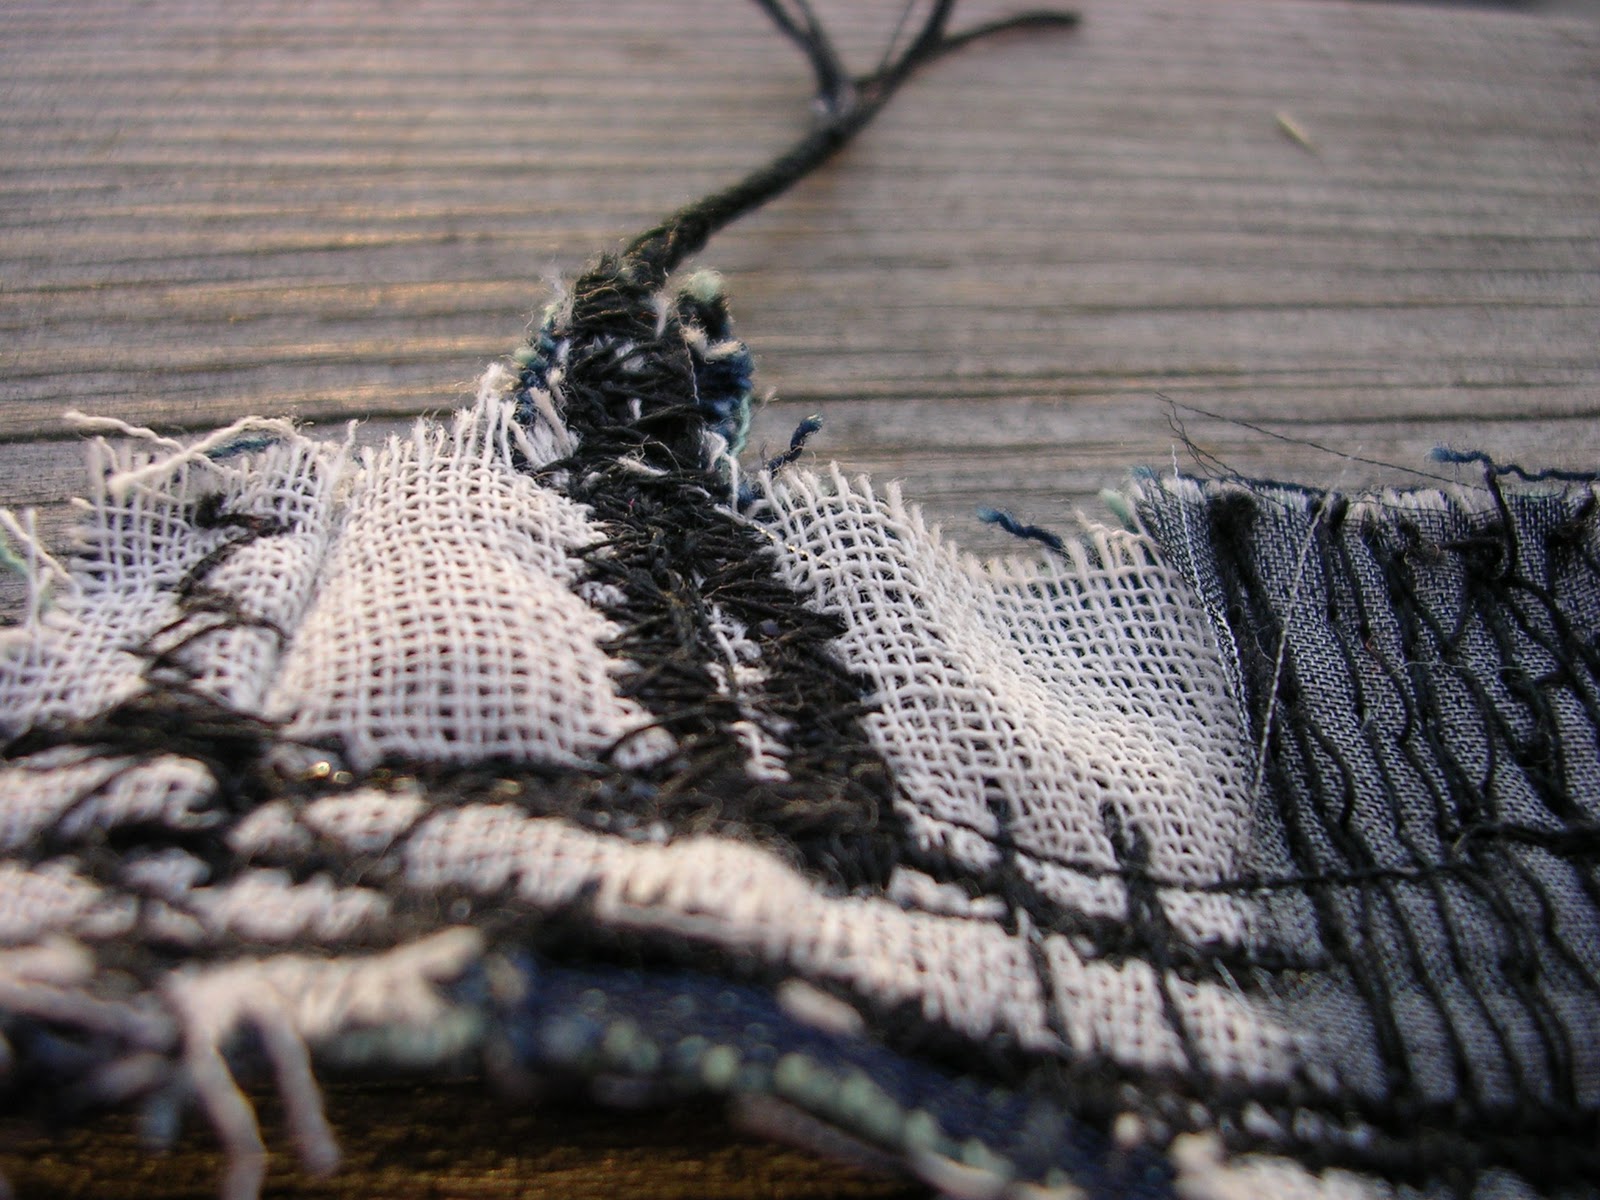
A while back...28th September 2010 post...I showed a picture of the work I'd done at the Embroiderers' Guild Scottish Branches Summer School in August. I was in a class taken by Louise Baldwin (brilliant by the way!) we were working on lines. We produced some artwork from our source, mine was The May Island in the River Forth. We then transferred our artwork into a series of machined lines. Cords, braids wired, fabric, yarns basically anything went if it was appropriate to your source and it made a line!.
I think that back in September! I'd promised to show some close up photos of my work. Well, her they are...at last!

I liked how you could combine little bits of fabric and beads within these lines. 
Some of the lines turned out quite delicate and fine 
While some of them looked more agressive and bold.


This one is much broader but still looks quite delicate.
The one below has delicate areas but doesn't look very fine.  


These are just a few of the photos that I took em... just the other day! Talk about being prepared...I'll put the rest on my Flickr page.
Bye for now.
:o) 

Sunday, 20 February 2011

printing & stitch

 I took some photos of my printed fabric. The fabric was very busy so I used "L" shaped card to home in on a few sections. The only thing is that it takes ages to select which ones that you think are interesting. I took loads of photos and end up only using a couple of them here. I may post more of them on Flickr.

I was at a great workshop yesterday where I was able to use some of my printed fabric. I added it to a piece that I'd started at a previous session.

 The piece above was using my newly printed fabric. I hadn't realised that I'd ended up with little flowers until the tutor pointed it out!. Sometimes it's better to look at what you're doing from a distance. I think that a was so intent to get to the end of the row and wondering which bit I would tackle next  to really notice what was going on.                                  

                                   
These are some of the bits that I'd worked on a previous occassion. We were allowing the piece to grow as we went along which proved to be more difficult than you 'think. Designing as you go!
                                    
Our aim was to produce an exotic piece of work

 I loved stitching the little dots and the squares. It's great how the use of very simple straight stitches enhance the printed image.
This is where I was working, just for good measure.

 Aren't Ikea scissors great!
Another printed image. The orange line was monoprinted  by laying the fabric down on a sectioned of rollered orange paint. I then dragged the end of my paintbrush across the fabric. You get the missing sections when the fabric shifts a little and the brush jumps over the little ridge that was created by it moving. Hope that makes sense!
Bye for now,
:o)

Wednesday, 16 February 2011

back again!

Hi folks! Thought it was about time for me to come back to blogland.
I've have been keeping myself busy but never managed to blog about it. Tisk, tisk. I aim to add to this more often from now on. It may be a bit random as to the subject matter but I will try to continue to post about my stitching bits and pieces as I go along. Of course to start me off again you'll see that it's not stitched pieces at all but a little bit of printing. Just because I like it!

 
A bit of rollering and stamping here and there.
 I treated myself to some alphabet blocks recently which need a bit more experimenting with. I do like a bit of text in textiles!

We can't forget good old monoprinting. I love it!
Here I've tried a little fish print in positive and negative.


You can just see the negative image in the photo above. The top one is done by carefully laying the fabric down onto the inked surface, then drawing the image onto the back of the fabric. I'm sure most people will know how to do it. I don't use ink, I use acrylic paint straight from the tube. If you do that you must work quickly before it dries. It's probably worth while getting a medium that delays the drying process it would make a big difference. 


Having a play with my alphabet stamps and I liked the colours that were on the paintbrush at the time.
I'm not sure if my printed fabric piece worked all that well. It may be better when it's cut up into smaller pieces.
I'm a lot happier about the little fish prints and can see myself working on them. Eventually! I'll keep you posted.
That's all for now.
Byee!
x

Tuesday, 28 December 2010

MERRY CHRISTMAS!

A bit late I know but hope it was a good one all the same.
Hi!

I love it when the sky is blue and everything is white!

I like how the snow catches in the fence and tops the posts!

I just love the snow!

I'm not looking forward to the thaw, the mess, the flooding and the dark!
Took these when the snow came at the end of November. It looked lovely but now at the end of December it's a mess. It's been raining a lot, the snow is shrinking and some bits are just sheer ice. Not so nice now, but we did have a white Christmas, woopee! Sadly the snow novelty has worn off a bit now.
Anyway, hope you all had a great Christmas and here's to a Happy New Year!

Tuesday, 28 September 2010

Stirling...

I can't believe it's one month on from being at The Emroiderers'Guild Summer School (Scottish Branches) at Stirling. Anyone would think that I hadn't enjoyed myself. Completely the opposite!!! I had a great time this year with Louise Baldwin as my tutor. I've loved her work since I did my City & Guilds so it was great to finally meet her and be in her class. She was brilliant! I thoroughly enjoyed myself and the results of my labour can be seen in the picture above. We were working from our own source. I chose to work from my photos of the May Island which I visited in June. I can feel a series coming on!!! .....
I hope to take some close up photos which I'll post sooner rather than later.
That's it for now,
Byeee!
:o)