Wednesday, 14 July 2010

super trip....100...

The Isle of May National Nature Reserve in the River Forth.  Had a great day here on one of their open days. We went on the boat from Anstruther and this was some of the first close up views we had of the island.
The stars of the trip! We sat on rocks and watch the comings and goings of the puffins on their way to feed their little pufflings hiding underground..
I would have loved to have had closer pictures of the puffins. Much larger lens required!These were some Shags and a Razorbill with its little chick following him or her around. He was so sweet.
This was a family of Guillemot with their chick in the background. Its amazing how they look like little penguins.
Of course the extreem close-ups ended up being the seagull chicks. I have to admit that they look really nice when they were all fluffed up.
Heaps of inspiration on the island for textile pieces!!!
These were all taken in and around the Engine House which was on Fluke Street, fabulous name! Loads of peeling paint and rust. I can feel a May Isle range for next summer!!!I think I took as many pictures of inspiration as I did of sea birds, they didn't move! The birds had a tendency to turn the other way just when the camera went click so it was amazing that I actually have any bird photos!
Some local island text!
This was where an old railing post had been cut off. I know that railings were cut down during the war to be melted down for I think munitions so maybe this is what happened here. I would like to point out that this was learned and not from experience! Anyway I loved the areas of colour on the stone.
Well that's it for now. This as it happens has been my 100th post. I had thought to commemorate it with a giveaway but I've never done anything like that and am not sure where to start so for now I thought that I would share with you the photos of what was for me a fantastic trip.
I wonder when they take the bookings for next year!!!!!
Bye for now, I'll be back soon.

Thursday, 10 June 2010

A selection...

Not a great picture but this is one of my unframed pieces that has been lurking around for a while. I had worked it on a backing of calico but all my unframed pieces are usually worked on a base of felt. This is probably why it was in the lurking pile! I added it to a piece of felt with the embellisher and some more rows of free machining, problem solved! I've mounted it on the horizontal for a change. There's a kind of landscape thing going on with it... with a bit of imagination!
This one is actually another one on calico but this time I've decided that I'll window mount it, so it'll not need to be put on to felt. It's very much a work in progress as I've not stitched the flowers yet.
I quite like how they look without the flowers being stitched (I'll take some more photos of them later) but I think that's because it's a close up which I find always looks way better than the actual size. 
I've used a mixture on this one of hand and free machine embroidery with some work on the embellisher as well. I love to combine techniques when it suits.
These are a couple of quite small pieces, actually I think I may have shown them before, or maybe on flickr... anyway I decided that they had too much work on them to be put on a card (I try not to do any hand stitching on my card pieces...a personal thing!) so I decided to whiz a zigzag stitch around the edges, add a brooch back and voila!...  a couple of instant brooches... As to whether anyone will want them or not remains to be seen but at least I'm happy as I feel like I've used them!
This is a before picture...
and this is the after...
The addition of a few straight stitches and some little flowers makes all the difference. I didn't notice until after I had mounted and packaged this one that I hadn't done any of my little French knot flowers. It obviously didn't need it otherwise I think I would have noticed at the time.


Some of the machining looks really messy when you see it in close up!
The photo above and the few below are from a landscape that I finished last week.

The colour doesn't seem quite right in these two photos. I may have had the flash on for this one as it was probably getting dark by the time I remembered to take some photos!!
The last photo here shows this piece before I did the extra hand stitching and free machining and I think the colour is better. You can see the extra details that I put on it in the close up photos.
I'm pleased to say that this piece sold at the Morningside Makers Market on Saturday !! I really liked it and wouldn't have minded if I'd had to keep it for a while....maybe this will be the start of a new series.......! :o)
Bye for now!
x

Sunday, 30 May 2010

about time....

I got down to posting a bit more. So... I thought that I'd show some of my recent scoops...This lovely batik fabric which I put in the wash with the white items and a colour catcher. I'm so glad I did as the colour catcher came out the same colour as the maroon on the batik. Can't believe how well the white fabric came out. There was the slightest bloom of pink on them but you really don't notice it. Whew!!Sorry about the shadow on this photo. The embroidered piece is an organza handkerchief... for show I presume!!I also had a pink moment! The pink cord is elastic... got some ideas for that and the pink gingham trim is elasticated as well....haven't a clue what I'll do with that but I liked it....the fabric is a pair of cotton pyjamas...great for recycling and for using in my latest little project!

Here they are... my latest! I've been making mini bunting. I've used a selection of new, vintage and recycled fabric. They are on sale in the seriously scrummy shop Kit & Caboodle in Newburgh Fife, Scotland!
I had so much fun making them that I hope they do well.
That's it for now.
Back soon!

Sunday, 9 May 2010

saw this...

dashed out just before eight this evening to capture this. The white blob was a seagull who happened to fly into view just as the camera went click! Unfortunately I've missed most of the other rainbow that was further out. You can just about see it in the seagull picture.Now is the pot of gold at this side of the trees or at the back? Mmmm....
I've been busy getting work ready for craft fairs this past while. Have managed to post a few pictures on flickr today. Hope to have something for this blog soon.
Byee!

Monday, 19 April 2010

Flower power....

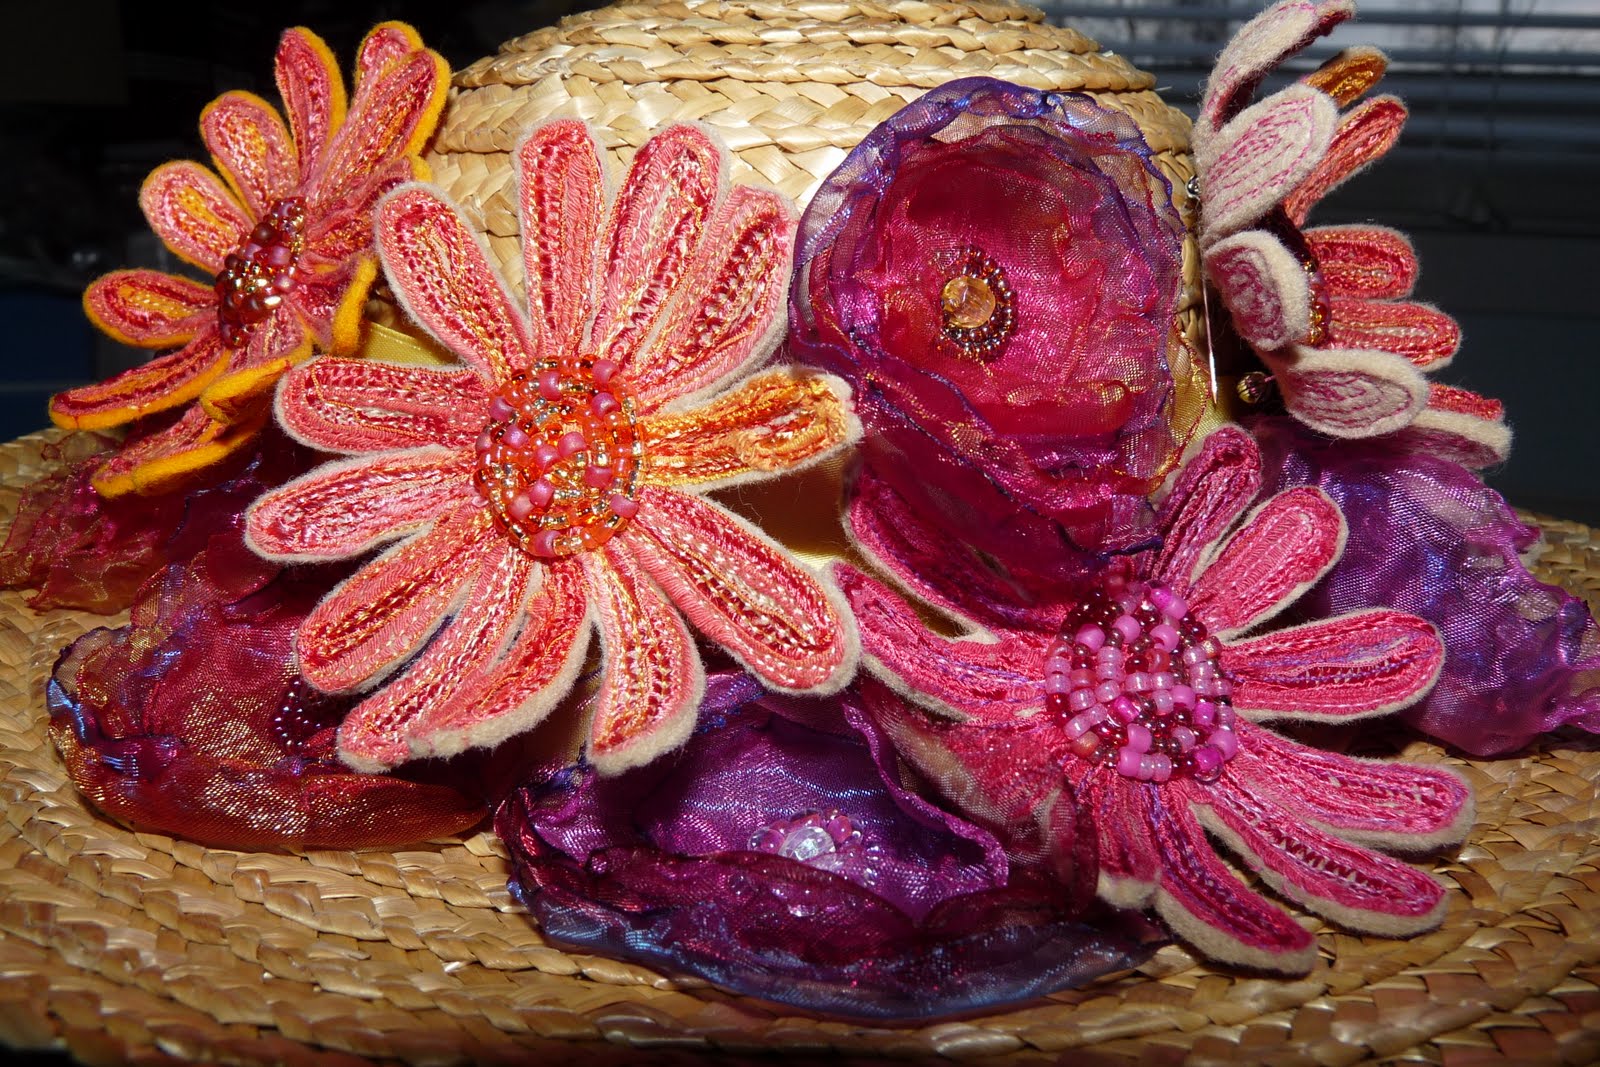
 I'd decided to use the Easter bonnet as a prop for my flower brooches for the craft fair as I've mentioned before so I thought that it was a good idea to use it again to show off my flower brooches for Etsy. Yes, I've finally decided to open up my shop.  I had quite a few flower brooches made so thought that they'd be the perfect starting point. Not too sure how it'll work out as I've noticed that there are hundreds of flower brooches out there so it'll be a miracle if anyone finds mine... and then likes it enough to buy it! Oh well, it's worth a try. 
I started taking some photos outside because it was nice and sunny but didn't think that the background helped them so I retreated indoors. 
Next I thought that it would be a good idea to try and stage the photo as I had found an old polystyrene head form, draped some sheer fabric round it and plonked the bonnet on the top and stood it next to a large letter "M" on an old desk. I quite liked the idea of an object that's for sale in amongst other things.
It's amazing how you can look at a thing for ages and never see the obvious. I didn't notice until I was selecting the photos to use to promote my flowers that I suddenly noticed how large the flower looked. Positively huge! Should have realised that the bonnet was a childs size!!! The flower is fairly big at almost 3 1/2" square but it's not a big as it looked in some of the photos.
I ended up retaking a lot of the photos but have decided to show one of the staged photos along with the new ones...I think!
Positively huge!!!!!

Staged photo! Also could do better on the fabric draping I think!
Etsy shop nearly open...watch this space!

Friday, 9 April 2010

Easter bonnet...

I made a couple of bonnets this year or rather I decorated them! They only cost me £1 each so I was really pleased.I posted a few pictures on flickr of the first bonnet which I put in the window at Funky Scottish, Pittenweem, Fife.
This one I used as a prop at the April Morningside Makers Market.
I've been having a go at making some of the little burnt flowers and  thought that they would make a good show with my flower brooches. It certainly made the hat a bit more interesting. I have to say that they are hugely addictive so if you want to try making them there are plenty of tutorials online. I made mine outside as I wasn't too sure about the fumes when the synthetic fabric melted. It certainly proved challenging, you only need the slightest of breeze to set everything flying including the candle flame!

It's been a lovely sunny day here today and I end up taking the pictures at night with a flash!!! Crazy!!
I know that it's past Easter but hope you all had a good time! :o)
Byeeee!

Friday, 12 March 2010

sparkle, sparkle...

spotted this on the wall the other day and just had to dash for the camera. I kept going back to take another photo, it's ok I'm only showing a couple...how do you like the one with the arc? It was a reflection from my camera lens.

Had to show my new scoop! Maybe not really all that exciting but the price was! I paid £2 for it in a charity shop in Edinburgh. I have to admit that it originally had Simpson stickers on each drawer and a fine layer of dust but I immediately saw that it had potential. Referring back to my "stairs" episode you can see that one of the lucky drawers now holds my "shirt box" beads! Much better for carrying around!
The stickers came off !
Byee!
Back soon....